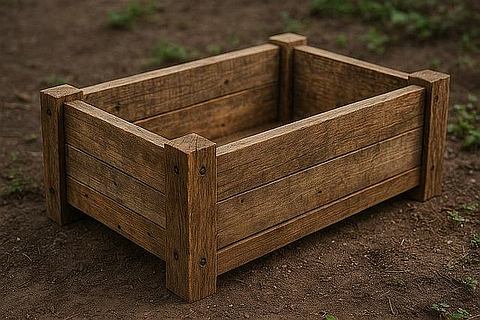
Rustic Planter Box
Transform your space into a charming retreat with a Rustic Planter Box made from reclaimed wood! Whether you’re an experienced DIYer or just getting started, this project is a fun and functional way to add rustic appeal to your outdoor space. Plus, it's an excellent way to repurpose wood from items found at your local ReStore.
Materials Needed
- Reclaimed wooden crates, pallets, or scrap wood (look for sturdy wood pieces that are free from rot or large cracks)
- Screws or nails
- Wooden dowels or corner brackets (optional for added support)
- Drill and screwdriver
- Measuring tape
- Saw (if you need to cut wood pieces)
- Wood glue (optional for extra durability)
- Sandpaper or a power sander
- Wood stain or paint (optional for finishing)
- Drill bit (for drainage holes)
- Outdoor plant liner (optional, to keep soil contained)
- Paintbrush or cloth (for staining/painting)
General Instructions
Step 1: Select and Prepare Your WoodIf you're using reclaimed wood, carefully inspect each piece to ensure it’s sturdy and free of major cracks or rot. Old crates or pallets are ideal, as they often feature the rustic look you're going for. If the wood is too rough or weathered, you can sand it down to create a smoother surface.
Step 2: Measure and Cut Your Wood
Decide on the dimensions for your planter box based on the space available. A typical planter box might be 24 inches long, 8-12 inches wide, and 8-12 inches deep, but you can adjust these measurements according to your preferences.
→ Side Panels: Measure and cut four pieces for the sides of your box. If you're using a reclaimed pallet, you may already have slats that fit!
→ Bottom Panel: Cut a piece to fit the bottom of the box. If you want to make it even more sturdy, you can add extra slats or use a solid piece of wood.
Step 3: Assemble the Box
Start by attaching the four side pieces to form the rectangular or square shape. Here’s how to assemble:
1. Pre-drill holes along the edges of the wood to prevent splitting.
2. Attach the side panels to one another using screws or nails. If you have corner brackets or dowels, add them for extra stability—especially if you’re going to be planting heavier plants.
Tip: You can use wood glue in addition to screws or nails for extra durability. To ensure right angles you can use corner clamps or build two corners around something that already has right angle corners.
Step 4: Attach the Bottom Panel
Once the sides are secure, place your bottom panel inside the frame and attach it the same way, using screws or nails.
Tip: For a more rustic look, leave a little gap between the slats of the bottom panel for drainage. This is important whether you place plotted plants inside the planter or fill it with dirt.
Step 5: Sand and Finish the Box
Use sandpaper to smooth out any rough edges, splinters, or uneven surfaces. You want to ensure that your planter box will be safe to handle and look polished.
1. Sand the entire surface of the box to smooth out any roughness. Alternatively you could sand the individual pieces of wood before assembling the pieces.
2. If you want to keep the wood's natural, rustic charm, skip staining or painting, but be aware the wood will rot sooner. If you'd like to add some color or protection, now’s the time to stain or paint the box.
Tip: Use outdoor-rated paint or stain to protect your planter box from the elements. A light-colored stain can bring out the rustic beauty of the wood while helping it resist the wear and tear of outdoor use. Be sure to put an extra layer or two of stain or paint on the inside of the box if you use dirt. This will be extra protection against dirt that doesn't dry out quickly due to lots of rain.
Step 6: Add Drainage Holes
Before adding soil it's important to ensure proper drainage so your plants don’t get waterlogged. Drill small drainage holes in the bottom of your planter box to allow excess water to escape. Even if you use potted plants this is a good step so there isn't standing water in the bottom of your planter box.
Tip: If you’re using a liner for your planter box, this step can help prevent water from soaking through the liner and causing the wood to deteriorate faster.
Step 7: Line the Planter Box (Optional)
If you'd like to keep the soil in your planter box from spilling out, you can line the inside with a heavy-duty garden fabric or a plastic liner. This will help hold the soil in place while allowing water to drain.
Tip: Choose a liner that’s breathable for plants but durable enough to withstand weather changes. It’s especially useful if your planter is going to be outdoors year-round.
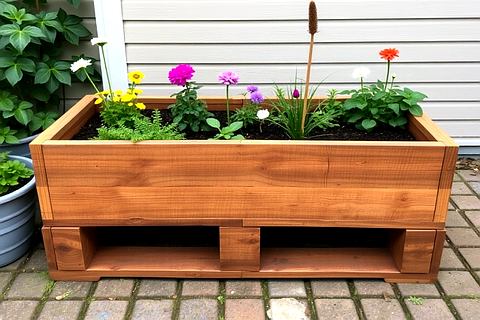
Step 8: Plant Your Garden
Now the fun starts! Place the planter box where you want it before adding soil or potted plants or it may be too heavy to move. Once your rustic garden planter box is assembled, filled with soil, and lined (if desired), it’s time to plant your garden.
Tip: Choose plants that will thrive in your climate. Herbs, flowers, and small vegetables are great options for planter boxes. Be mindful of how much space each plant needs to grow, and plant accordingly. For example, herbs like basil and thyme thrive in smaller spaces, while tomato plants need more room to spread out.
Optional Add-Ons for Extra Style
Add Decorative Handles: Attach metal handles to the sides of your box to make it easier to move or just to add a bit of extra style.
Create a Trellis: If you want to grow climbing plants, attach a small wooden trellis to the back of your box for vines like cucumbers or peas, or vining flowers like Clematis or Wisteria.
Paint Stencils or Designs: To give your box an added personal touch, try painting a fun design or stenciling a word or phrase that reflects your garden's theme.
Final Thoughts
Your rustic garden planter box not only gives your chosen space a stylish, handmade touch but also provides a great way to grow fresh herbs, flowers, or vegetables. Plus, using reclaimed materials makes the project environmentally friendly and cost-effective. Whether you're a seasoned DIYer or a first-time crafter, this project is simple and rewarding.
Enjoy your new planter and the fresh plants it will hold charm you with years after year!
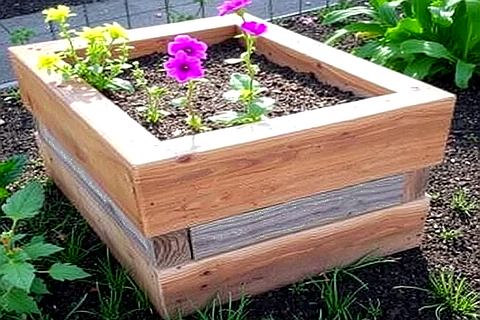
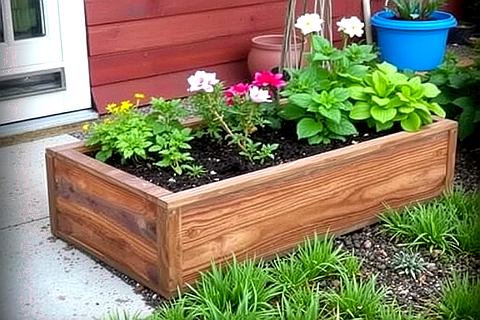
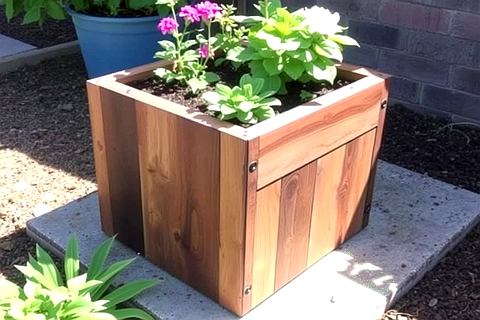
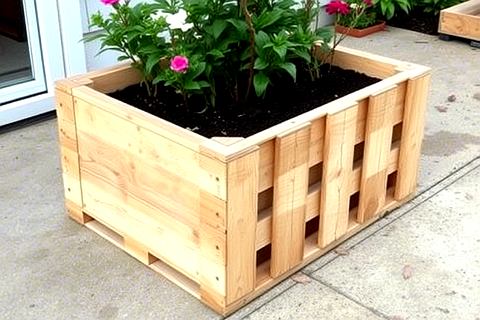
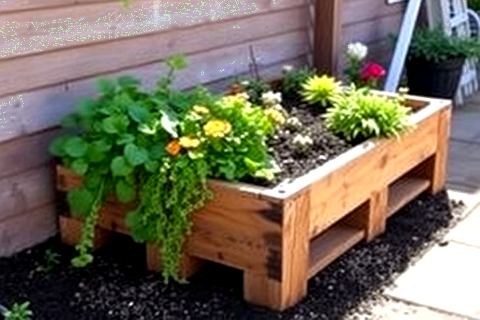
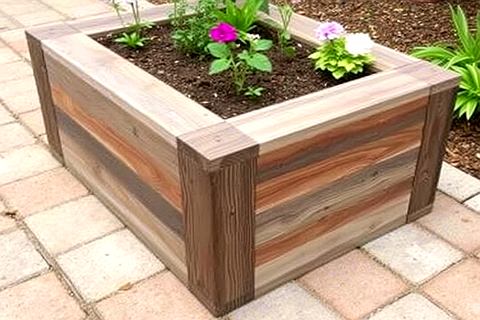
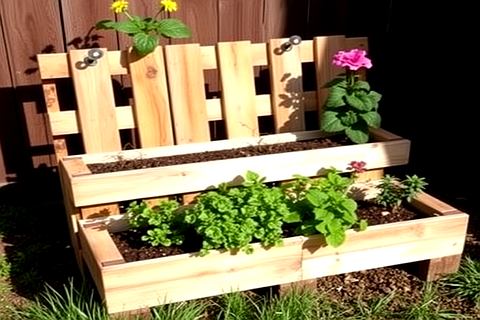
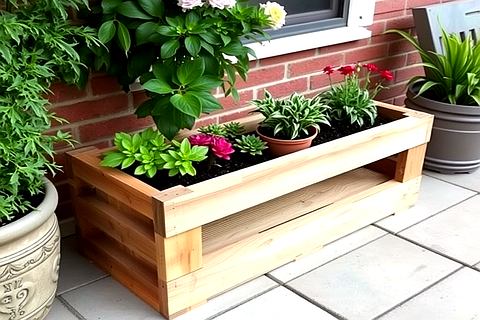
Below are some examples of different planter boxes to spark your imagination and, hopefully, inspire you to create your own.